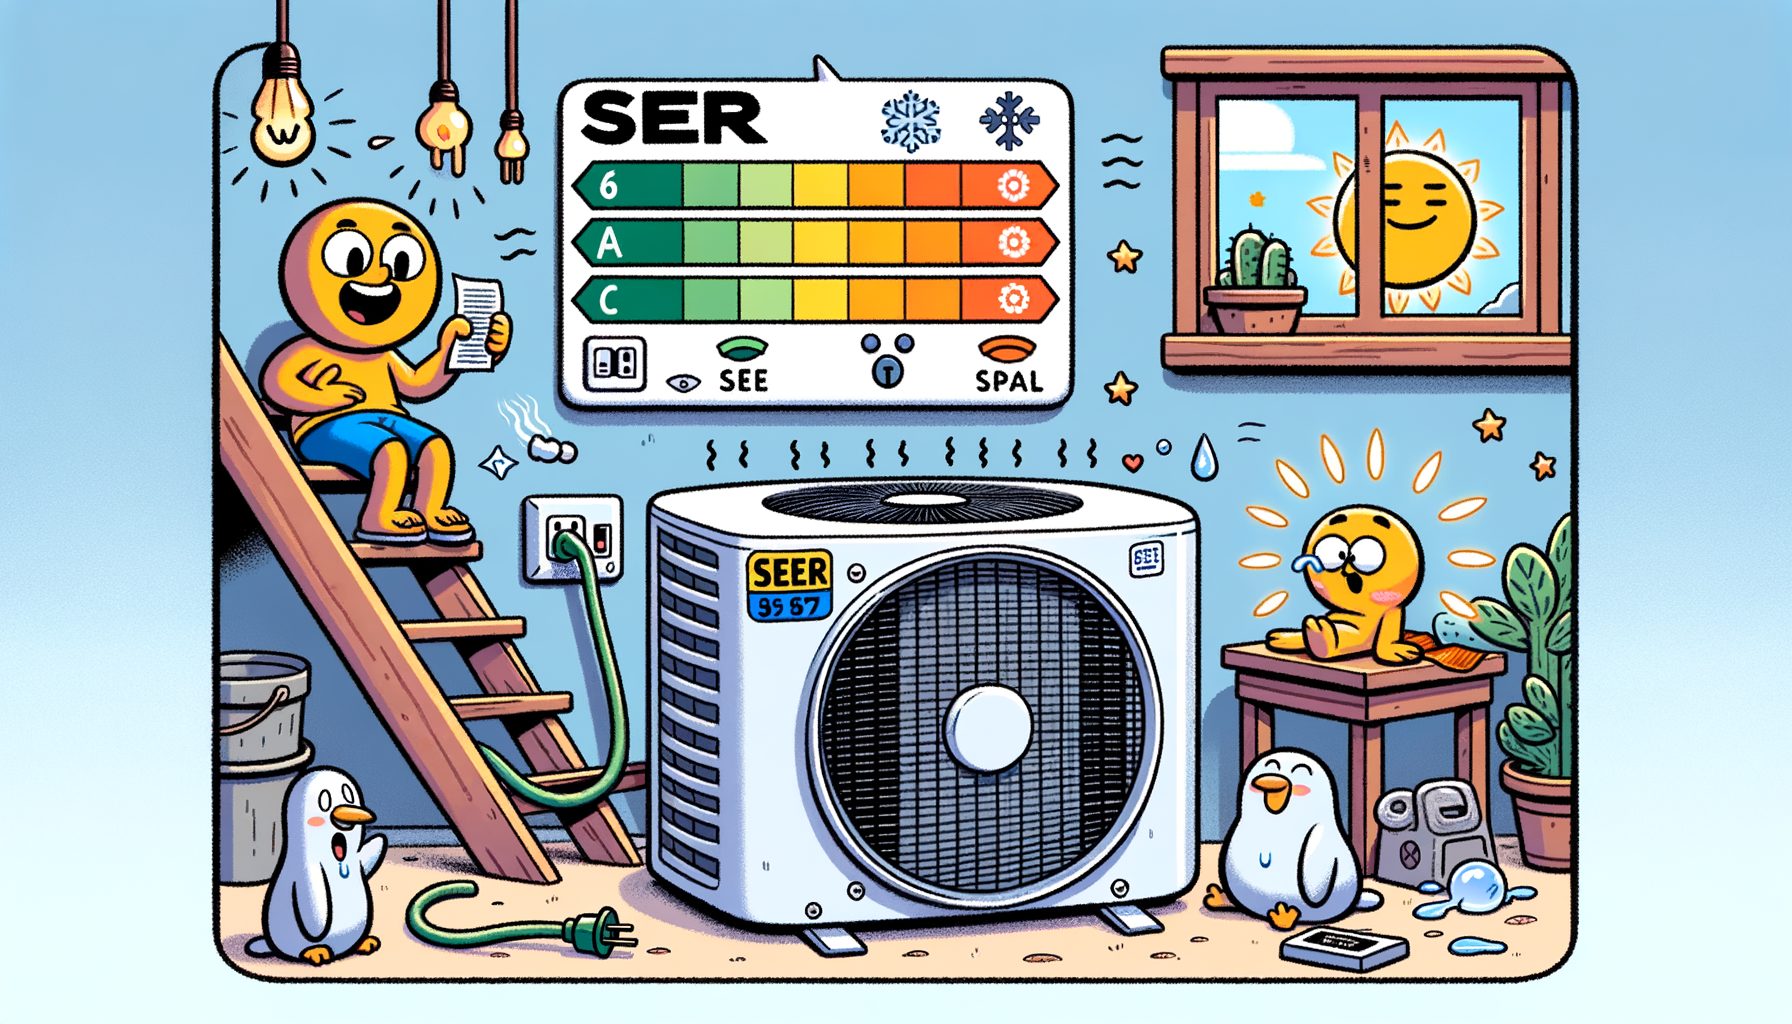
High energy bills, hot rooms, confusing labels—if you’ve shopped for an air conditioner, you know the struggle. Most people have one question: how do I pick an energy-efficient unit that actually saves money? Enter the SEER rating (Seasonal Energy Efficiency Ratio). Learn it, and your electricity costs can drop, your carbon footprint can shrink, and choosing a unit that fits both climate and budget gets much easier. In this guide, you’ll see what SEER means, how it shows up on real bills, which rating suits different homes and regions, and how to keep a system running at peak efficiency.
What SEER Means and Why It Matters
SEER (Seasonal Energy Efficiency Ratio) measures how efficiently an air conditioner or heat pump cools a home over an entire season. Technically, it’s the total cooling output (in BTUs) during a typical cooling season divided by the total electricity used (in watt-hours). A higher SEER delivers more cooling per unit of electricity. For most households, that translates to lower bills and a lighter environmental footprint.
Why does SEER matter? Cooling is one of the biggest energy costs in many homes—especially in warm climates. When an older SEER 10 unit (common before the mid-2000s) is replaced with a modern SEER 16–20 system, cooling energy use is often cut by 30–50%. Depending on climate, home size, and power prices, that can mean hundreds saved each year.
U.S. efficiency standards and test methods keep evolving. Since 2023, SEER2 has replaced SEER as the compliance test procedure, and ratings for the same hardware are typically a bit lower due to more realistic testing conditions. You’ll still see the term “SEER” used broadly by websites and sales materials; just note whether a label says SEER or SEER2. In the EU, seasonal metrics appear on the energy label; India uses ISEER; in parts of the Middle East, EER is common. Names and test methods vary, but the goal stays the same: help you compare how efficiently systems cool.
Technology is another reason SEER matters. Higher-SEER systems often include variable-speed or inverter-driven compressors, smarter controls, and better indoor airflow management. Electricity use can drop, yes—but comfort usually improves too: steadier temperatures, better humidity control, quieter operation.
The bottom line? SEER isn’t the only factor to weigh, yet it is a central indicator of energy-efficient air conditioners. Understand it, and you gain negotiating power, clarity when comparing models, and confidence that your investment will pay back over time.
How to Choose the Right SEER Rating for Your Home
Picking the “right” SEER is a balancing act among climate, usage, budget, and your home’s quirks. Here’s a practical framework to get it right the first time:
1) Start with your climate and cooling hours. Hot, long-summer climates (e.g., U.S. South, Southeast Asia, Middle East) benefit more from higher SEER because the AC runs many hours. In mild coastal areas, a mid-tier SEER may offer the best payback. If you’re unsure, look up “cooling degree days” for your city or ask an HVAC pro for estimated annual cooling hours.
2) Consider electricity costs. The higher the local kWh price, the faster a high-SEER system pays for itself. At $0.16/kWh, upgrading from SEER 10 to SEER 18 can save hundreds per year for a typical home. At $0.08/kWh, payback may stretch. Always run the math for your location.
3) Right-size the system before chasing SEER. Oversized systems short-cycle, waste energy, and struggle with humidity—even if the nameplate SEER is high. Request a Manual J (or equivalent) load calculation, not a rule-of-thumb estimate. Proper size beats raw SEER for comfort and real savings.
4) Focus on technology features. Inverter or variable-speed systems usually deliver better real-world comfort and seasonal efficiency than single-stage units with similar nameplate SEER. Expect steadier temperatures, more consistent dehumidification, and quieter operation. If budget allows, a variable-speed heat pump or ductless mini-split is a strong long-term pick.
5) Evaluate your home’s distribution system. Leaky ducts or poor airflow will hide the benefits of a high-SEER unit. Duct sealing, proper return sizing, and correct static pressure are essential. In homes without ducts—or where duct fixes are tough—ductless systems can deliver high efficiency right where it’s needed.
6) Check incentives and standards. Many countries and utilities offer rebates for ENERGY STAR certified or high-SEER/SEER2 systems. Combine a rebate with off-season installation, and a better system may fit the same net price. In the U.S., start with ENERGY STAR and your local utility; in the EU, check national programs; in India, see the Bureau of Energy Efficiency (BEE) star ratings.
7) Balance budget and payback. Planning to move soon or living with a short cooling season? A mid-range SEER can be the sweet spot. Staying put in a hot climate for years? Top-tier SEER with inverter tech can pay back—and keep paying—for a decade or more. Get two or three quotes that compare lifecycle cost (purchase + installation + 10-year energy use), not just equipment price.
Real-World Savings: SEER vs. Your Energy Bill
SEER is useful only if it turns into money saved. Well, here’s how to estimate it with a simple model. Assume a 3-ton (36,000 BTU/h) system. Energy use per hour is Cooling Capacity (BTU/h) ÷ SEER (BTU/Wh) = Watts per hour. Convert to kW and multiply by annual cooling hours. Then multiply by your local kWh price.
Example assumptions: 1,200 cooling hours per year, electricity at $0.16/kWh. Your numbers may vary—only a demonstration.
| Rated SEER | kW While Running | Annual kWh (1,200 hrs) | Annual Cost at $0.16/kWh | Savings vs. SEER 10 |
|---|---|---|---|---|
| 10 (older units) | 3.60 | 4,320 | $691 | — |
| 14 | 2.57 | 3,086 | $494 | $197/yr |
| 16 | 2.25 | 2,700 | $432 | $259/yr |
| 18 | 2.00 | 2,400 | $384 | $307/yr |
| 20 | 1.80 | 2,160 | $346 | $345/yr |
What does the table show? Upgrading from SEER 10 to SEER 16 saves around $259 per year in this scenario. Over 10 years, that’s roughly $2,590 (not counting utility price inflation or maintenance effects). In hotter climates or with higher electricity rates, savings grow. In cooler climates or where power is cheaper, savings shrink. If your home runs 2,000 cooling hours per year, scale the numbers proportionally.
Two important caveats: 1) Real homes don’t run in simple on/off cycles—variable-speed systems often run longer at lower power, improving comfort and sometimes beating their nameplate efficiency. 2) Installation quality can easily add or subtract 10–30% from real-world performance. A perfectly installed SEER 15 can outperform a poorly installed SEER 18. To protect your investment, insist on a reputable installer, a load calculation, and a start-up checklist with measured airflow and refrigerant charge.
To compare models or confirm certifications, browse the AHRI Directory of Certified Product Performance, or check ENERGY STAR qualified products. For regional standards and policy updates, see the U.S. Department of Energy’s appliance standards page. Links are provided in the sources section.
Installation and Maintenance: How to Max Out Your SEER
Even a stellar SEER won’t deliver savings if the system is installed or maintained poorly. These steps help make the number on the label show up as real performance in your home:
• Get a proper load calculation. Ask for Manual J (or equivalent) to size your unit. Oversized systems short-cycle, waste energy, and leave humidity behind. Undersized systems run constantly and may wear out faster. With correct sizing, inverter systems can run efficiently at lower speeds more of the time.
• Verify airflow and ductwork. Your air handler needs the right airflow (often 350–450 CFM per ton, depending on dehumidification targets). Have the installer measure static pressure and adjust blower settings. Seal ducts with mastic or UL-181 tape, and insulate ducts in attics or hot spaces. Duct leakage of 15–30% shows up in many audits—a huge drag on efficiency and comfort.
• Charge and commissioning matter. Proper refrigerant charge, line set sizing, and evacuation to deep vacuum are essential. Ask the technician to document superheat/subcooling numbers and verify that they match the manufacturer’s specs. A small mistake here can cost 5–15% efficiency for years.
• Set your thermostat smartly. Smart thermostats and zoning (where appropriate) can trim costs without sacrificing comfort. Use gradual setpoint changes instead of large setbacks in humid climates to avoid long, aggressive recovery cycles. If your system is a variable-speed heat pump, keep moderate setpoints and let it cruise.
• Maintain filters and coils. Replace or clean filters regularly (check monthly at first; change as needed). Choose a filter with a MERV rating that balances air quality and airflow—too restrictive can stress your system. Keep outdoor coils free of debris and ensure at least 24 inches of clearance for good airflow. Schedule annual tune-ups to catch early issues.
• Improve the building shell. Air sealing, attic insulation, and window shading reduce the load your AC must handle. The system runs less, lasts longer, and delivers better humidity control. Sometimes spending $500 on insulation and sealing saves more annually than paying for an extra SEER jump.
• Keep condensate in check. A clogged drain can shut your system down and cause water damage. Ask about float switches, and flush the drain line annually.
• Monitor performance. Track monthly kWh usage and setpoint patterns. If usage spikes without a heat wave, a refrigerant leak, duct leak, or failing component could be the cause.
These fundamentals turn a high-SEER purchase into real savings, quieter operation, and more comfortable rooms. Think of SEER as the potential; installation and maintenance unlock it.
SEER vs. SEER2 vs. EER and Global Labels: Don’t Get Lost in the Acronyms
Different regions use different metrics. Here’s a quick, practical guide to keep comparisons fair:
• SEER (legacy) and SEER2 (current U.S. test): SEER2 uses updated test conditions and external static pressure to better reflect real-world ducted performance. As a result, a unit’s SEER2 number is typically lower than its old SEER number. When comparing new products in the U.S., use SEER2 for apples-to-apples.
• EER: Energy Efficiency Ratio at a single test condition (usually 95°F outdoor). EER shows performance at high load and is useful in very hot climates or for equipment that runs hard during peak heat. A system can have a high SEER but moderate EER if it’s optimized for mild conditions. For desert climates, consider both SEER/SEER2 and EER.
• ISEER (India): Indian Seasonal Energy Efficiency Ratio accounts for local climate profiles. Higher ISEER = better. Use BEE star ratings as a quick visual guide, then check the detailed label for ISEER when comparing models.
• EU Seasonal Labels: The EU energy label for cooling provides seasonal efficiency and an energy class (A+++ to G). It also includes sound levels and capacity data. Because EU metrics incorporate variable operating conditions, they’re broadly comparable to how SEER represents seasonal performance.
How to compare across borders? Use each region’s official directory or label to compare within the same market, then focus on technology type (inverter vs. single-stage), capacity, and real-world features. If you’re reading international reviews, remember that a “SEER 20” in one market may not map exactly to an EU seasonal rating or to SEER2 in the U.S. When in doubt, check the manufacturer’s technical datasheet for EER (peak), part-load performance, and noise levels. For multi-split and ductless systems—common in Asia and Europe—seasonal metrics often assume part-load operation, which reflects how these systems run most of the time.
Finally, don’t forget the heat pump advantage. Many high-SEER cooling systems are heat pumps that also deliver heating efficiently. If your winters are mild, a high-SEER heat pump with a solid HSPF/HSPF2 rating can cut heating bills, too—often beating resistance heat or older gas furnaces in cost per comfort. Consider total annual energy, not just summer cooling, when you make your purchase.
FAQs
What SEER rating is “good” today? For most homes, a SEER2 equivalent around 14–16 (roughly legacy SEER 15–18) is a solid baseline. In hot climates or for long-term ownership, stepping up to SEER2 16–18 (legacy SEER ~18–22) often pays back with lower bills and better comfort.
Is a higher SEER always worth it? Not always. If you have short cooling seasons, low electricity rates, or you plan to move soon, mid-tier SEER can be the best value. Run a payback calculation using your local kWh price and cooling hours before deciding.
Does SEER affect humidity control? Indirectly, yes. Many high-SEER systems use variable-speed compressors and fans, which can run longer at lower speeds and remove more moisture. The result is steadier comfort in humid climates.
What about maintenance costs for high-SEER systems? Inverter and variable-speed systems can be more complex and may have higher parts costs. With regular maintenance and proper installation, surprises are reduced. Over a system’s life, energy savings and comfort improvements usually outweigh the maintenance difference.
How long will a high-SEER system last? With correct sizing, quality installation, and routine maintenance, many systems last 12–15 years or more. Harsh climates, poor filtration, or neglected maintenance can shorten that span.
Conclusion: Turn SEER Knowledge into Real Savings and Comfort
We’ve covered what SEER means, how it compares to SEER2, EER, and global labels, and how to pick the right efficiency level for your climate and budget. You also saw that SEER signals potential efficiency, while real results depend on proper sizing, installation quality, duct performance, and smart operation. With a simple calculation, you can estimate yearly savings and decide whether stepping up to a higher SEER or variable-speed system makes sense for your home.
Ready for action? If you’re shopping for a new unit, gather two to three quotes that include 1) a load calculation, 2) SEER2 (or regional) ratings, 3) EER data for hot-climate performance, and 4) a commissioning checklist. If you already own an AC, schedule a tune-up, check your filter, and seal any obvious duct leaks to capture easy savings. Consider a smart thermostat and moderate setpoints to balance comfort with costs. And if your home’s insulation or air sealing is lacking, fix that first—you’ll often get faster payback than jumping multiple SEER tiers.
To go deeper, explore trusted resources like ENERGY STAR, DOE, AHRI directories, EU labels, or your country’s energy authority. Many utilities offer instant rebates or low-interest financing that can turn a high-SEER upgrade into a money-saving decision from day one. Keep the long term in view: the best system stays efficient in real conditions, delivers quiet comfort, and keeps bills predictable for years.
Start today: check your current unit’s efficiency, estimate your annual cooling hours and kWh rate, and run a quick payback. If the numbers look good, line up a pro who will size and commission the system right. Your future self—cooler, calmer, and spending less each month—will thank you. Which upgrade will you tackle first: a smarter thermostat, duct sealing, or a high-SEER inverter system?
Sources and Helpful Links
• U.S. Department of Energy – Air Conditioner Efficiency Standards: https://www.energy.gov/eere/buildings/appliance-and-equipment-standards-program
• ENERGY STAR – Central AC and Heat Pump Guidance: https://www.energystar.gov/products/heating_cooling
• AHRI Directory of Certified Product Performance: https://www.ahridirectory.org
• EU Energy Label (Cooling/Heating): https://energy-label.ec.europa.eu
• Bureau of Energy Efficiency (India) – Star Ratings and ISEER: https://beeindia.gov.in