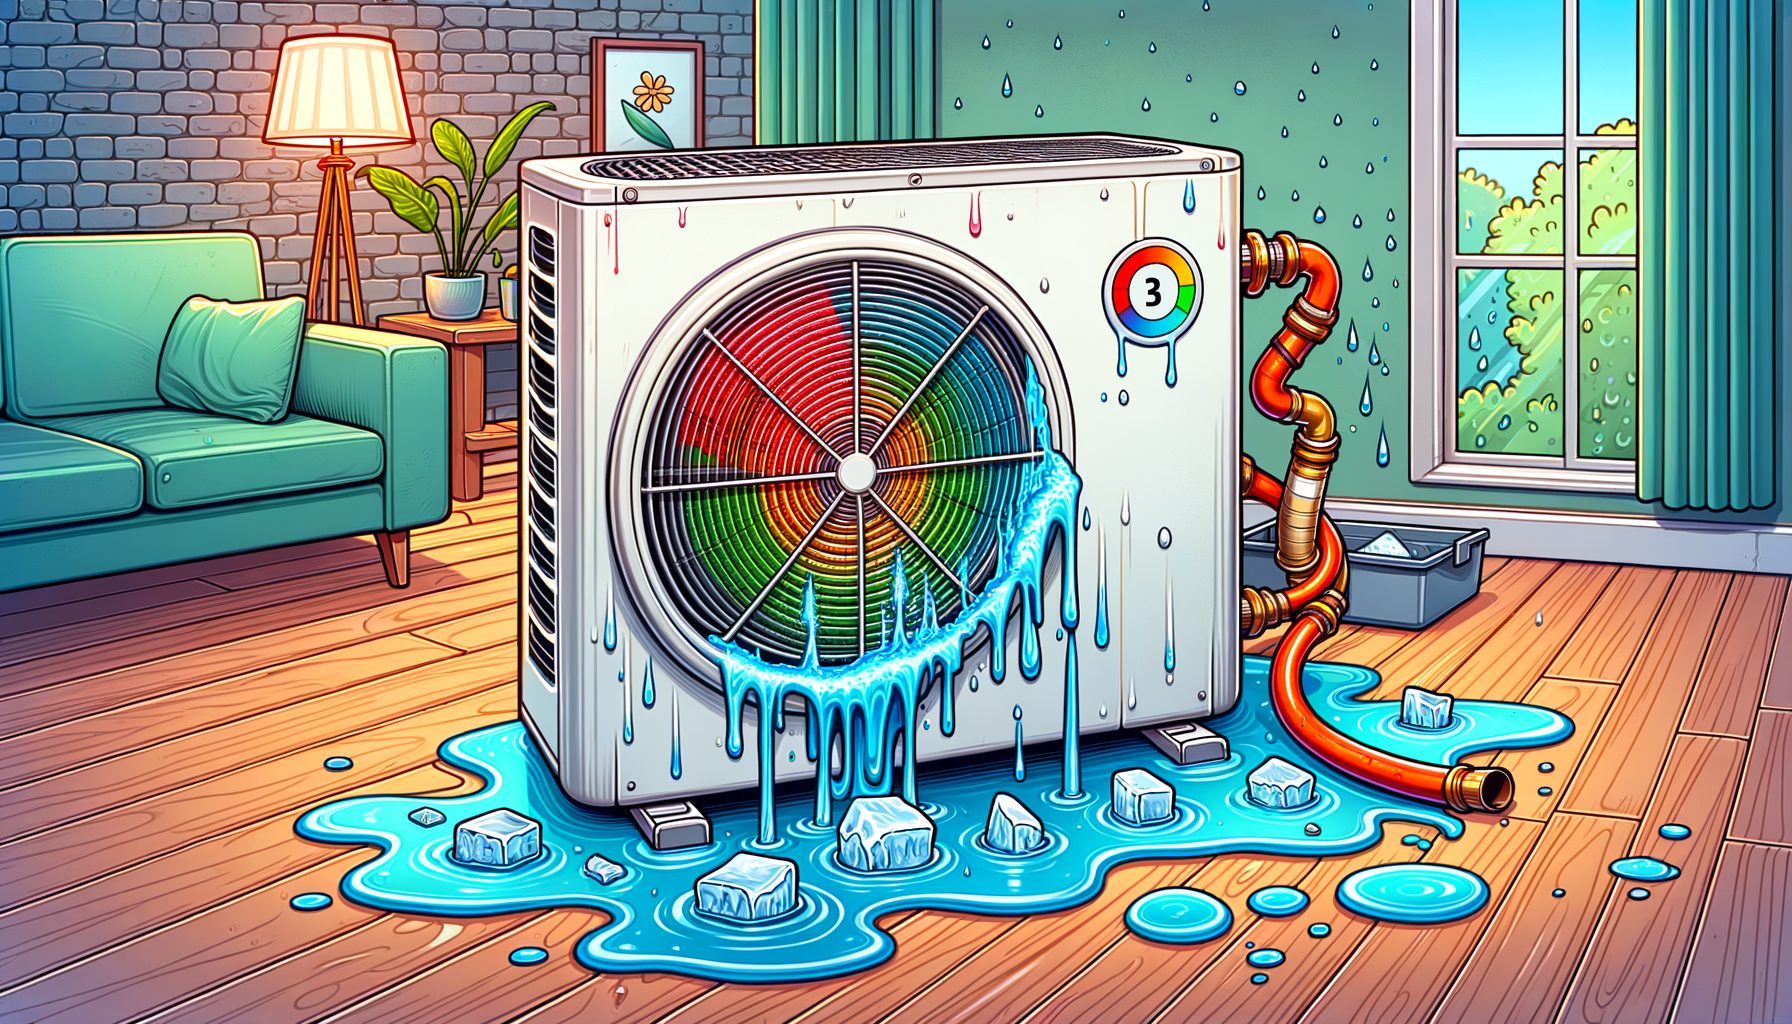
Woke up to a wet floor, a damp wall, or a steady drip from your air conditioner? You’re not the only one. An AC that leaks feels urgent and messy—and ignoring it invites mold, stains, and costly repairs. In this guide, you’ll see why ACs leak in plain language, what you can safely do right now, and how to keep it from happening again. We’ll cover the most common causes, quick DIY fixes, and the moments when calling a pro makes sense. By the end, you’ll know what to check first and how to stop the drip fast.
How an AC Handles Water (And Where Leaks Start)
Air conditioners remove both heat and moisture from indoor air. As warm, humid air moves across the cold evaporator coil, water condenses on the coil and falls into a small catch basin called the condensate pan. That water is routed through a narrow pipe—the condensate drain line—to an outdoor outlet, a plumbing tie-in, or a small pump that lifts it to a safe discharge point. In a properly working system, the moisture exits quietly. During hot, humid weather, a typical AC can remove several liters—even gallons—per day. Totally normal. What isn’t normal is water dripping inside, pooling at the air handler, or soaking a window frame.
Why does water escape? Most leaks come from a few familiar trouble spots. A drain line clogged with dust, algae, or biofilm forces water to back up and spill over the pan. A filthy filter—or low refrigerant—can turn the coil into a mini ice rink; when it thaws, puddles follow. A cracked or rusted condensate pan will leak even if the drain is clear. Window and portable units that aren’t tilted slightly outward, or that have a blocked rear drain path, can dump water indoors. On systems with condensate pumps, a stuck float or failed motor often leads to overflow. Installation issues show up too: an uninsulated suction line can sweat and drip, and a poorly pitched drain line can trap water and breed clogs.
Before you touch anything, a quick safety note: shut off power to the indoor unit at the thermostat and, if you can, at the breaker. Water and electricity are a bad mix. With the system safely off, you can inspect the filter, pan, and drain. The upside? Many leaks come from simple problems you can solve in under an hour with basic tools.
Common Reasons Your Air Conditioner Is Leaking Water (Symptoms You Can Spot)
Getting the diagnosis right is half the battle. Use the symptoms below to narrow things down quickly. Watch, listen, and check only what you can access safely.
- Standing water in the indoor unit pan: A classic clogged condensate drain line—or a failed condensate pump. A musty odor often points to algae/biofilm.
- Intermittent dripping after long cooling cycles: Usually a partial clog the line can’t overcome in high humidity, or a restricted air filter causing occasional icing.
- Ice on the refrigerant line or evaporator coil: Expect poor airflow (dirty filter, blocked vents, very dirty coil) or low refrigerant. Meltwater can overflow the pan.
- Rusty or water-stained furnace/air handler cabinet: Signals a long-term drain problem, a cracked pan, or a unit that isn’t level—so water misses the pan.
- Window AC dripping indoors: The unit may be tilted inward, the foam filter filthy, the rear drain path blocked, or the sleeve/gaskets leaking rainwater.
- Gurgling from the drain line or a wet ceiling under attic units: The drain may be air-locked, pitched poorly, or missing a cleanout and proper trap. Attic systems should also include a secondary (emergency) pan with a float switch to protect ceilings.
Here’s a quick reference table to pair what you see with likely causes and safe first steps.
| Symptom | Likely Cause | Quick Check | DIY Fix |
|---|---|---|---|
| Water pooling in pan | Clogged drain line | Shine a light into the outlet; look for slime | Apply a wet/dry vac to the outside drain for 2–3 minutes; flush with vinegar |
| Ice on coil/lines | Dirty filter or low refrigerant | Remove filter; check for frost; weak airflow? | Replace filter; run FAN only to thaw; if it returns, call a pro for a refrigerant/airflow check |
| Water only during long cycles | Partial clog or bad drain pitch | Verify the drain line slopes continuously downward | Clear the line; add a cleanout; set a 1–2% downward slope |
| Drip from window unit indoors | Unit tilted inward or blocked rear vents | Use a level on top; inspect the rear drain path | Tilt slightly outward; clear the rear drain and fins; clean the filter |
| Musty smell with small drip | Algae/biofilm in pan and trap | Open access; look for slime | Clean the pan; flush the trap with vinegar; consider anti-algae tablets |
One more note for mixed HVAC setups: high-efficiency furnaces and some ACs share a condensate drain. If water appears near the furnace cabinet during cooling season, the shared drain or trap may be the choke point. What’s interesting too, drywall dust from recent renovations can clog condensate systems in a hurry. In those cases, clean the entire drain path—not just a quick vacuum at the end.
Quick DIY Fixes, Safety Steps, and Smart Prevention
Plenty of leaks can be handled with common tools: a wet/dry vacuum, small funnel, distilled white vinegar, a flashlight, paper towels, and a basic level. Power off at the thermostat, then cut the breaker if you’ll open panels. Well, here it is—work through the steps in order and stop once the leak stops or you hit a task that calls for a licensed tech.
- Step 1: Replace or clean the air filter. A clogged filter chokes airflow, freezes the coil, and can overflow the pan. Install the correct size in the right orientation. In peak season, check every 30 days. Guidance from ENERGY STAR: energystar.gov/keep_cool_save_money.
- Step 2: Clear the condensate drain line. Find the PVC line at the indoor unit and the outdoor termination. Attach a wet/dry vac at the outdoor end, seal it with a rag, and vacuum for 2–3 minutes to pull out slime and debris. Then pour 1/2 cup distilled white vinegar into the indoor cleanout (or into the pan if that’s your access) and let it sit for 30 minutes. Avoid strong bleach—some metals and rubber parts don’t tolerate it, and fumes aren’t ideal. If there’s a P-trap, be sure it’s clean and refilled with water afterward to keep the air seal.
- Step 3: Thaw a frozen coil safely. Noticed ice? Set the thermostat to FAN only and let it run 2–3 hours to melt. Place towels to catch drips. Don’t chisel ice or use heat guns; the coil can be damaged. After thawing, return to COOL and observe. If freezing comes back with a clean filter, call a pro to check refrigerant and airflow.
- Step 4: Check the condensate pan and unit level. Use a flashlight to spot cracks or rust holes. A two-part epoxy can be a temporary patch; long term, replace the pan. Confirm the air handler is level and the drain line slopes gently downward. For window units, tilt the chassis outward by about 1–2° so water exits outdoors.
- Step 5: Test the condensate pump (if you have one). Slowly pour water into the pan; the pump should start and discharge. If not, verify the power plug, float switch, and outlet tube. Failed pumps are common and replacements are usually affordable. Power off, then follow the manufacturer’s instructions closely.
When to call a pro: If water is near electrical components; the coil freezes again after a filter change; you hear hissing or suspect refrigerant issues; the pan is severely rusted; or a float switch trips repeatedly. Refrigerant work requires certification in many places. In the U.S., see EPA Section 608: epa.gov/section608.
Prevention that really works:
- Monthly in warm/humid seasons: Flush the drain with 1/2 cup vinegar. Vacuum the outdoor end if you see slime.
- Every 1–3 months: Change the filter. Keep supply and return vents clear.
- Annually: Have a pro clean the evaporator coil, inspect the pan, verify drain pitch, and test the float/overflow switch. A routine visit often costs less than fixing water damage. For AC basics: energy.gov/energysaver/central-air-conditioning.
- Mold awareness: Persistent dampness invites mold. For public health guidance: cdc.gov/mold.
- Find qualified help: Look for accredited HVAC pros via ACCA: acca.org/consumers.
Cost snapshot (varies by region): A drain cleanout by a tech often runs USD $100–$250; pan replacement can be $150–$600 in parts plus labor; a condensate pump $100–$200 plus install; refrigerant leak diagnostics and repair can be higher. Then this: a little maintenance usually beats drywall repair and mold remediation.
Frequently Asked Questions About AC Leaks
Q: Is it normal for an AC to produce water?
A: Yes. Moisture removal is part of how air conditioning works. Water should drain outside or into a plumbing line. Indoor dripping, pan overflows, or soaked materials aren’t normal—treat them right away.
Q: Can I run my AC if it’s leaking water?
A: Safer to switch the system OFF and fix the cause. If the coil is iced, run FAN only to thaw. Operating while leaking risks electrical damage, mold, and bigger repairs. After a simple fix (like clearing the drain and replacing the filter), restart and monitor. If water returns, call a pro.
Q: What’s the fastest DIY way to stop a leak?
A: Swap the air filter, vacuum the condensate drain from the outside with a wet/dry vac, then flush with distilled white vinegar. For window units, tilt the unit outward and clear the rear drain path. Many leaks are solved in under an hour.
Q: Should I use bleach in the drain line?
A: Most manufacturers prefer vinegar. Bleach can be harsh on metals, rubber, and nearby finishes, and the fumes are unpleasant. Distilled white vinegar is generally gentler and effective against biofilm. Always check your manual.
Q: When is it definitely a job for a professional?
A: If refreezing happens after a filter change; you suspect refrigerant issues; the condensate pump fails; clogs keep coming back; or water is near electrical parts. Licensed technicians can diagnose airflow and refrigerant problems and confirm the drain is sized and pitched correctly.
Conclusion: Stop the Drip Today, Protect Your Home Tomorrow
Short version: water around your AC isn’t normal, but it’s usually fixable. Most leaks start with a clogged drain, a dirty filter that triggers icing, a damaged pan, or bad leveling—especially on window units. You now know how the system should move water, how to spot likely causes, and the quick, safe steps to clear clogs, thaw coils, and restore proper drainage. Regular maintenance—monthly vinegar flushes, frequent filter changes, and a yearly tune-up—keeps leaks from starting.
If your AC is leaking, act now. Turn the system off, replace the filter, vacuum and flush the drain line, check the pan and unit level, and test the condensate pump if you have one. Keep towels handy and watch the next few cooling cycles. If the leak returns or ice builds again, bring in a licensed pro. They’ll measure airflow, check refrigerant, clean coils, and correct drain pitch or pump issues. That small visit can save you from soaked drywall, mold cleanup, and discomfort.
Next steps: spend 10 minutes today on a quick AC water check—filter, drain line, and level. Bookmark this guide, share it with a friend who owns a window unit, and set a monthly reminder to flush the drain. For deeper maintenance tips, review Energy.gov’s AC guide and find qualified help via ACCA. Your future self—and your floors—will be grateful.
You don’t have to be an HVAC pro to stop a leak; you just need the right steps and the confidence to begin. Ready to try the 10-minute drain-line cleanout now? If you’ve already fixed a leak, what quick tip would you pass along? Take action today, stay cool, and protect your space.
Sources
– U.S. Department of Energy – Central Air Conditioning: https://www.energy.gov/energysaver/central-air-conditioning
– ENERGY STAR – Keep Cool, Save Money: https://www.energystar.gov/keep_cool_save_money
– U.S. EPA – Section 608 Refrigerant Management: https://www.epa.gov/section608
– CDC – Mold: https://www.cdc.gov/mold/
– ACCA – Find a Contractor: https://www.acca.org/consumers